

Recording management
Find a moment in the calendar, prepare a recording file and choose who can access it. Explore how to use the recording schedule.
Start with the day. Move closer to the moment.
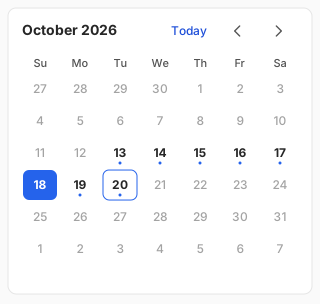
Choose a day with recordings in the calendar. Zoom into the full-day timeline to reach the relevant time. An interval with no footage and a recording past its retention period are different states.
Detail view · 13:00–14:00
Selected time: 13:24- Recording available
- No recording
- Retention expired
This timeline uses sample data to explain different recording states.
- What does the calendar show?
- Marked days contain playable footage. A red exclamation mark indicates a recording failure; a crossed-out day indicates footage past its retention period.
- How do you narrow down the time?
- Zoom from a full day down to a one-minute view. Click a position on the timeline or drag the playhead to move through the footage.
- What if that moment has no footage?
- When a timeline selection has no footage, the player explains the state. If a time entered in the time field has no recording, it offers the nearest recording and a “Go there” action.
From an export request to a ready file.
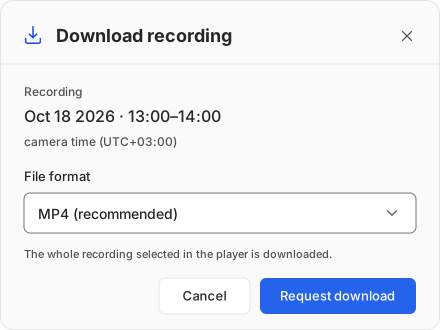
“Download this recording” opens the recording currently selected in the player. Check its time in the camera’s time zone, choose a file format and submit the request.
Follow your request on the Downloads page.
- Queued
The request is waiting to be prepared.
- Processing
File preparation progress is shown.
- Ready
Download, preview or share the file.
Choosing a file format
- MP4
- Recommended; supports preview in the panel.
- MOV
- Supports panel preview and download.
- AVI
- Downloadable; no panel preview.
If a request fails, the list explains why. Daily request allowances and concurrent preparation limits are shown on the Downloads page.
Choose access when you share the file.
Create a link through “Share” on a ready file. You do not need a sharing link to download your own file.
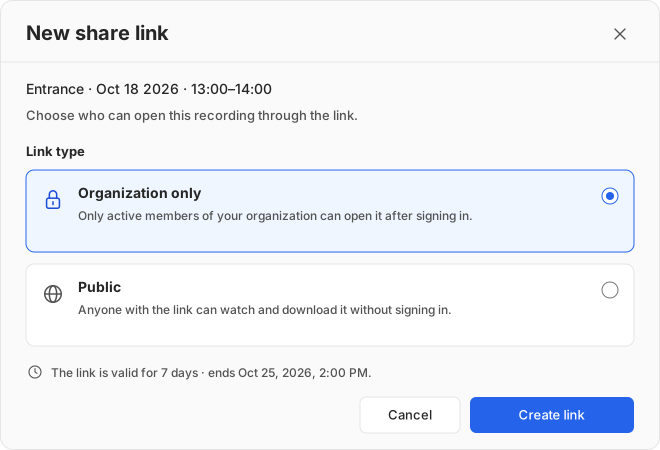
Organization only
Only signed-in members of your organization can open the link.
Example: reviewing footage with a colleague in the same organization.
Public
Anyone with the link can access it without signing in. Consider who you send it to.
Example: sending footage to someone outside your organization.
- Who manages the link?
- The person who requested the download creates and manages its links. Ask that person for a link to access their file.
- When does access end?
- A link is valid for 7 days. Use “Close link” to end access earlier. A closed link cannot be reopened; create a new one if needed.
- Does a new link close the old one?
- No. Creating a new link does not close existing links. Manage each open link separately in the sharing dialog.
Choose the hours that should be recorded.
Choose recording hours from a 24-hour day for each camera. Select every hour for all-day recording or build a schedule for specific hours.
Example recording schedule
Tap the hours to try it. This example does not change any real camera settings.
- Each button represents one hour.
- 09:00 means the interval from 09:00 to 10:00. In this example, business hours selects 09:00–18:00 and night hours selects 22:00–07:00.
- When does a change take effect?
- Schedule changes do not affect the recording already in progress. They apply from the next hourly interval. Read the hours in the camera’s time zone.
- Scheduled versus recorded
- The schedule defines when recording should happen. Recording history shows scheduled time, recorded time and interruptions; the two views answer different questions.
Now try it with your own camera.
Create your account, add your camera and check your first recording.
Read the frequently asked questions before you start